Aevon Bikes team was very busy during the lockdown. Le Cafe Racer underwent a complete make over to become the ‘Gulf’ version.
The idea of our bike is to customize, transform and personnalize it. It was time for us to test our ideas on the prototype.
Here are the different steps of the make over.
Painting on the frame of a bike is quite complex because the surface is round with frequent changes of direction compared to the hood of a car for example.
Also, there are much more steps to follow for this detailed decoration than for a plain color. With the help of a professional auto body mechanic, here is how we did it.
Step 1: sanding
The sanding process is very important, it’s the one that will determine the final state of the surface: a bike frame that wasn’t properly sanded can leave bumps and hollows on the final paint.
You need to sand regularly for a smooth and homogeneous grain texture: for example, for deep stripes, you first sand with a 180 grain and then you use a 240, 320, 400, 600 and 800 grain.
At this point, the frame must be smooth to the touch, you need to feel no rough patches, no lumps, no hollows.
Etape 2: the preparation
This step will guarantee a uniform hue and a good grip for the paint.
You need to blow on the frame with a compressed air-blower to remove the specks of dust and clean with a grease remover.
First, you put a layer of dressing, just a mist so that it will go into all corners. Once it’s dry when you touch it, you can put a thicker layer.
We used a white dressing (pipe 2,5mm) because the orange paint is not very concealing. It’s easier to paint on a white dressing than a black one with colors such as the Gulf orange.
We left it to dry for 24h to make sure the solvent evaporated, in order not to risk a reaction with the hue.
Step 3: the Gulf orange paint
The frame of our café racer needed 3 different colors: the Gulf orange, the Gulf navy blue and the Gulf light blue. We started with the Gulf orange.
We entirely painted all the pieces that would be completely or partly be orange except the frame of the bike that we protected, in order to paint only the 50mm tube on top. It was not necessary to paint the whole frame.
Step 4: covering the Gulf orange
With a thin tape, we defined the orange areas only.
Then we completely covered the orange color with larger tape, covering the thin tape.
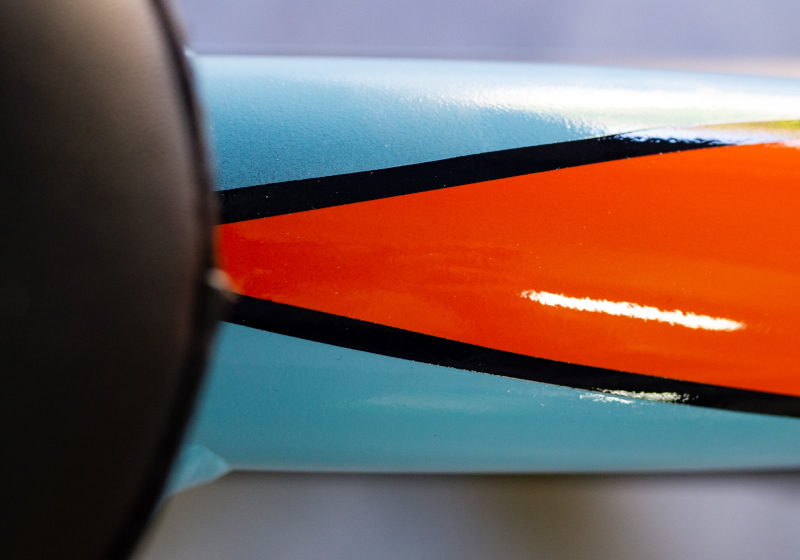
Step 5: painting the Gulf navy blue threads
With an airbrush tool, we painted the threads of 2cm around the covered areas. You can paint a thick line, anyway it will also be masked in the next step.
Step 6: covering the Gulf navy blue lines
With a thin tape (5mm), we defined the lines of Gulf navy blue.
Then we put larger tape astride the thin tape and the orange tape to ensure watertightness.
Step 7: Gulf light blue
Then we painted the rest of the parts of the bike in a classical way with a nozzle and pipe of 1,4.
Finally we uncovered all the parts to plan for the next step: the varnish.
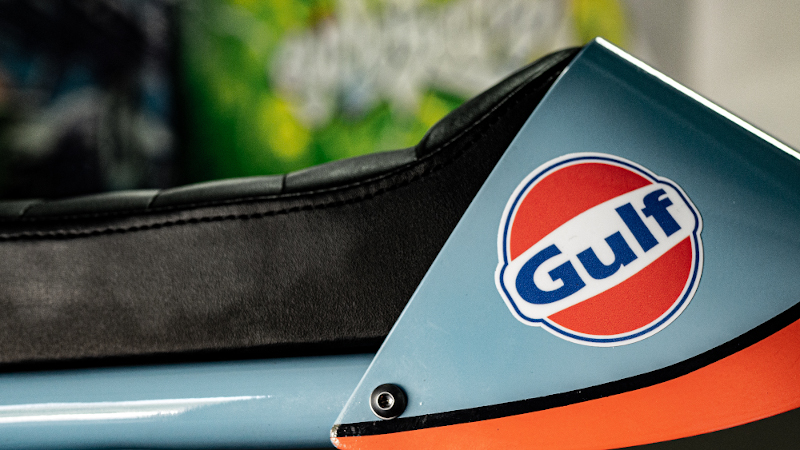
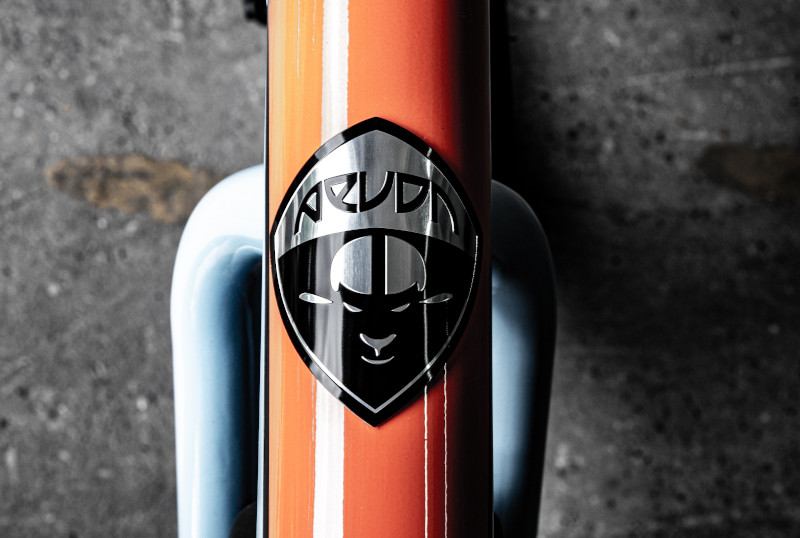
Step 8: placing the stickers
After various checks and measures, we placed the stickers on the front plaque and rear.
Step 9: the varnish
Before varnishing the stickers, we spread a mist of protection varnish very softly so that the solvent evaporated quickly. This prevents the glue from the sticker to get damaged.
The varnish is probably the most complex phase, especially when you’re new at this. It’s hard not to make any runs.
It’s better to do it when it’s not too cold, at least 59°F (15°C).
First we spread a layer on all the pieces and a second one to get a mirror effect. Our auto body mechanic helped us for this, to get a professional result!
If you don’t work in a cubicle, like us, you need to wait 12h for the pieces to dry and 48h to assemble the bike again.
If the varnish is hard at the surface, it stays soft underneath and you might get small marks.
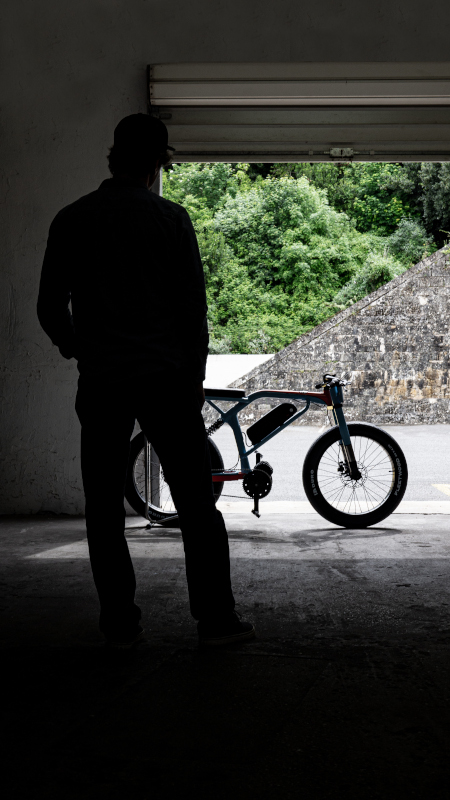
Step 10: the best!
Now you can admire the work and open a beer!
Conclusion
Without the drying, all of these steps took us 8h including preparing the work station + cleaning the tools at each step.
The result is worth it. Even if it’s not the color you’d choose for your bike to use daily, the frame is a beauty.
We have plenty of ideas now for the next photoshoots!